

Building Computer Skills to Enable Success
Building Computer Skills to Enable Success
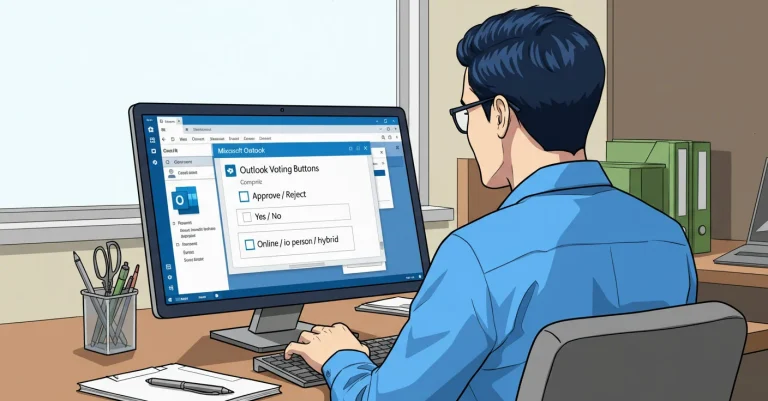
In this article, I’ll discuss how to use Outlook Voting Buttons as a better alternative to the usual methods. In my experience, few people are using Voting buttons, and I think it’s mainly because they don’t even know the option exists.
I know I keep banging on about it, but I bears repeating that there are just so many tools and apps available in the Microsoft 365 ecosystem, that it’s overwhelming for a lot of people. Because of this overwhelm, many users simply don’t get the chance to explore all these tools, instead just sticking with the stuff they already have and know about. That’s a shame, since some of these tools can save lots of time and make your work life a bit easier.
In my recent article about Microsoft Forms I covered some of the key step to get you started, and I hope you found the article useful. The thing about Forms though is that they are great for situations when you have lots of questions and need to get feedback that you might want to analyse later in Excel or elsewhere.
What if happens if you only have a single question, such as “Should our Team Newsletter be Fortnightly or Monthly”? Forms is a bit of overkill for that particular job. In this case, I reckon you’ll find the Voting buttons in Outlook will be more suitable. They’re a bit tucked away and easy to overlook, but well worth checking out.
What are Voting Buttons?
Voting Buttons are a simple (if not particularly obvious) feature built into Microsoft Outlook that let you add quick response options to an email. Instead of asking people to “let me know what you think” and then waiting for 25 separate replies that all say something different, you can offer them a set of buttons to click. Outlook tracks the responses for you in one tidy place.
It’s perfect for those short, sharp decisions that don’t need a survey or a meeting. Instead of having to sort out all the email responses manually, along with the inherent misunderstanding and having to go back for clarifications, you can quickly get to a consensus.
This feature is designed for internal use, so it works best when you’re emailing people inside your organisation. External recipients may not always see the buttons, depending on their email system.

When to Use Voting Buttons
If you’ve ever asked a simple question in a group email and then immediately regretted it, this feature is for you. Some situations where Voting Buttons help:
- Choosing between two or three dates for a meeting
- Quickly approving or rejecting a small task
- Checking preferences for lunch, training session times, or team activities
- Asking whether people want a newsletter fortnightly or monthly
- Confirming who will attend an event
- Getting a yes or no from managers without chasing them
For example: you send an email saying, “Are you free on Thursday for a quick catchup?” which accidentally creates a monster, replies come in, the conversation moves, and half the team doesn’t reply at all. Voting Buttons can solve that problem with a few clicks.
The Standard Options
When you first open the Voting Buttons options, Outlook gives you three readymade Voting Button sets:
- Approve; Reject
- Yes; No
- Yes; No; Maybe
Ok, now these are simple, and they’re suitable for lots of everyday situations. However, they also limit what you can do, so it’s a good thing that you can easily customise the options to suit your requirements.
Creating Custom Voting Buttons
Let’s say you want to ask your team for their preferences as to whether the next workshop should be held online, face to face, or hybrid. The standard options don’t cover that scenario, so a custom set is exactly what you need.

Here’s how to create them:
Adding Voting Buttons
- Start a new email message.
- Go to the Options tab on the ribbon.
- Click Use Voting Buttons.
- Choose Custom.
- In the Message Options window, type your preferred options into the box, separated by semicolons. For example, Online; In Person; Hybrid.
- Click OK and finish writing your email.
- Send the message as normal.
Your recipients will now see your custom buttons at the top of the message, ready for them to click on their choice.
Tip: I find that the Voting buttons aren’t all that obvious to recipients, so I recommend you add some extra text at the top of your email explaining where they are. You can even add a screenshot so there is no ambiguity. I really wish that Microsoft would make the buttons big and clear at the top of the window for recipients, but I’m not holding my breath!
Tracking Responses
Here is where Voting Buttons are much better than manually trying to tally up the replies (maybe by dumping them into a spreadsheet or a Word table). This happens more often than you might think!
Instead of trying to make sense of a messy email thread, Outlook collects all the responses for you.
How to see results
- Go to your Sent Items folder.
- Open the message you sent with Voting Buttons.
- You’ll see a Tracking tab appear once the first response comes in.
- Select Tracking to see the full list.
You’ll get a summary showing who responded and which option they selected, along with the total counts.

This feature alone is worth the price of admission, and depending on how many people you emailed, it can save you loads of time.
How to Make Voting Buttons Even More Effective
Like many of the tools in Outlook and Microsoft 365 in general, a few small tweaks can make a huge difference.
Keep your question clear and concise – People will respond faster when they don’t need a decoder ring to figure out what you’re asking.
Limit the number of options – Two or three options tend to work best, especially if you’re using custom buttons.
Tell recipients to look for the buttons – Some people have never seen them before. A sentence like “Please use the voting buttons above to reply” added at the top of your email helps a lot.
Use it for internal emails – External recipients on Gmail or other systems may not see the buttons, which leads to confusion and stray email replies anyway.
Don’t forget to check Tracking – It’s easy to send the survey and then forget to tally the results. Your future self will thank you.
Examples from the Workplace
To help you think about how this can work in your own daily tasks, here are some suggestions about where you can use Voting Buttons:
Scenario 1: Choosing a meeting time
Instead of chasing people for their availability, a manager sends an email with buttons labelled “10am Monday”, “11am Tuesday”, and “3pm Wednesday”.
Responses roll in quickly, and the most popular time wins. (Of course you could also use a New Scheduling Poll, but that’s only suited for scheduling, not for general questions).
Scenario 2: Confirming attendance
A training coordinator can ask the group, “Will you be attending Friday’s PowerPoint session?” with simple Yes and No buttons.
Within minutes, they know whether the session can go ahead or needs rescheduling.
Scenario 3: Newsletter frequency
A simple question: “How often would you prefer the Team Newsletter?” with options “Weekly”, “Fortnightly”, “Monthly”.
No Forms are needed and no messy inbox afterwards.
Scenario 4: Quick approvals
A project lead sends a single sentence email asking for sign-off on a minor document update.
The Approve or Reject buttons speed up the process enormously.
Most Outlook Users Don’t Know About Voting Buttons
Like many features in Microsoft 365, Voting Buttons aren’t exactly obvious. They’re tucked away on the Options tab, which most people only visit when they’re looking for the “Delay Delivery” function or trying to see why their high importance button is glowing red.
Because of this, Voting Buttons sit unused and unloved in most organisations despite being fast and effective. Once someone discovers them, they wonder why they haven’t been using them all along.
Conclusion
If you’re sending emails to colleagues asking for a quick decision, Voting Buttons in Outlook can save you a surprising amount of time and clutter. They cut down on email, help you get clear answers, and make your requests look more professional.
They’re not meant for large surveys (that’s something much better suited to Microsoft Forms), but for those short questions that don’t need a detailed questionnaire, they’re spot on.
So next time you catch yourself typing “Please reply and let me know your preference”, stop for a sec and try adding some Voting Buttons instead.